
attach an image to your markup
Sometimes symbols on a floor plan won’t cut it. Sometimes you just need to see it for yourself. Maybe your site survey conditions need a picture for clarification. Use the “Capture” command to link an image to a symbol on your drawings. You can use your device’s camera or pull from a folder location.
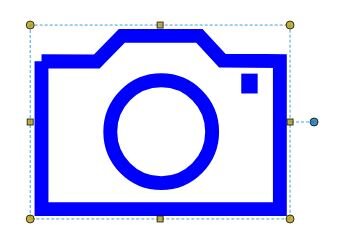
Place a mark up on your drawing. An easy way to stay organized is to create an icon specifically for linking images. (More on creating a symbol here). This way, when you get back to the office you can sort all images in your markups list by that icon.
Right Click the symbol to open the context menu and select “Capture”.

Select the option you want from the submenu.
From Camera - if your device has a camera, Bluebeam will open a window with the camera view. Point and shoot.
From File - Bluebeam will open the last accessed folder and you can navigate to your images folder from there, selecting the applicable image file

Keep in Mind:
The “Capture” command will work for any symbol/text you place on a drawing. The camera icon is one way to organize them all under a symbol that will be recognizable by other team members and easy to sort in the markups list.
Adding images to a document will drastically increase the typically small file size of your document. This depends on your camera resolution and can be adjusted in your Revu preferences if you are using the direct capture method. However, if your document is hosted in a Studio Session, it may be difficult for collaborators to navigate - and even open - your document if their device has less than 8GB of RAM.
All images are screenshots from Bluebeam Revu CAD version 2018.
Need more help? Visit Bluebeam’s Support page.
I created this camera icon in Bluebeam using the Polyline, Ellipse, and Rectangle tools.